 Skip to content


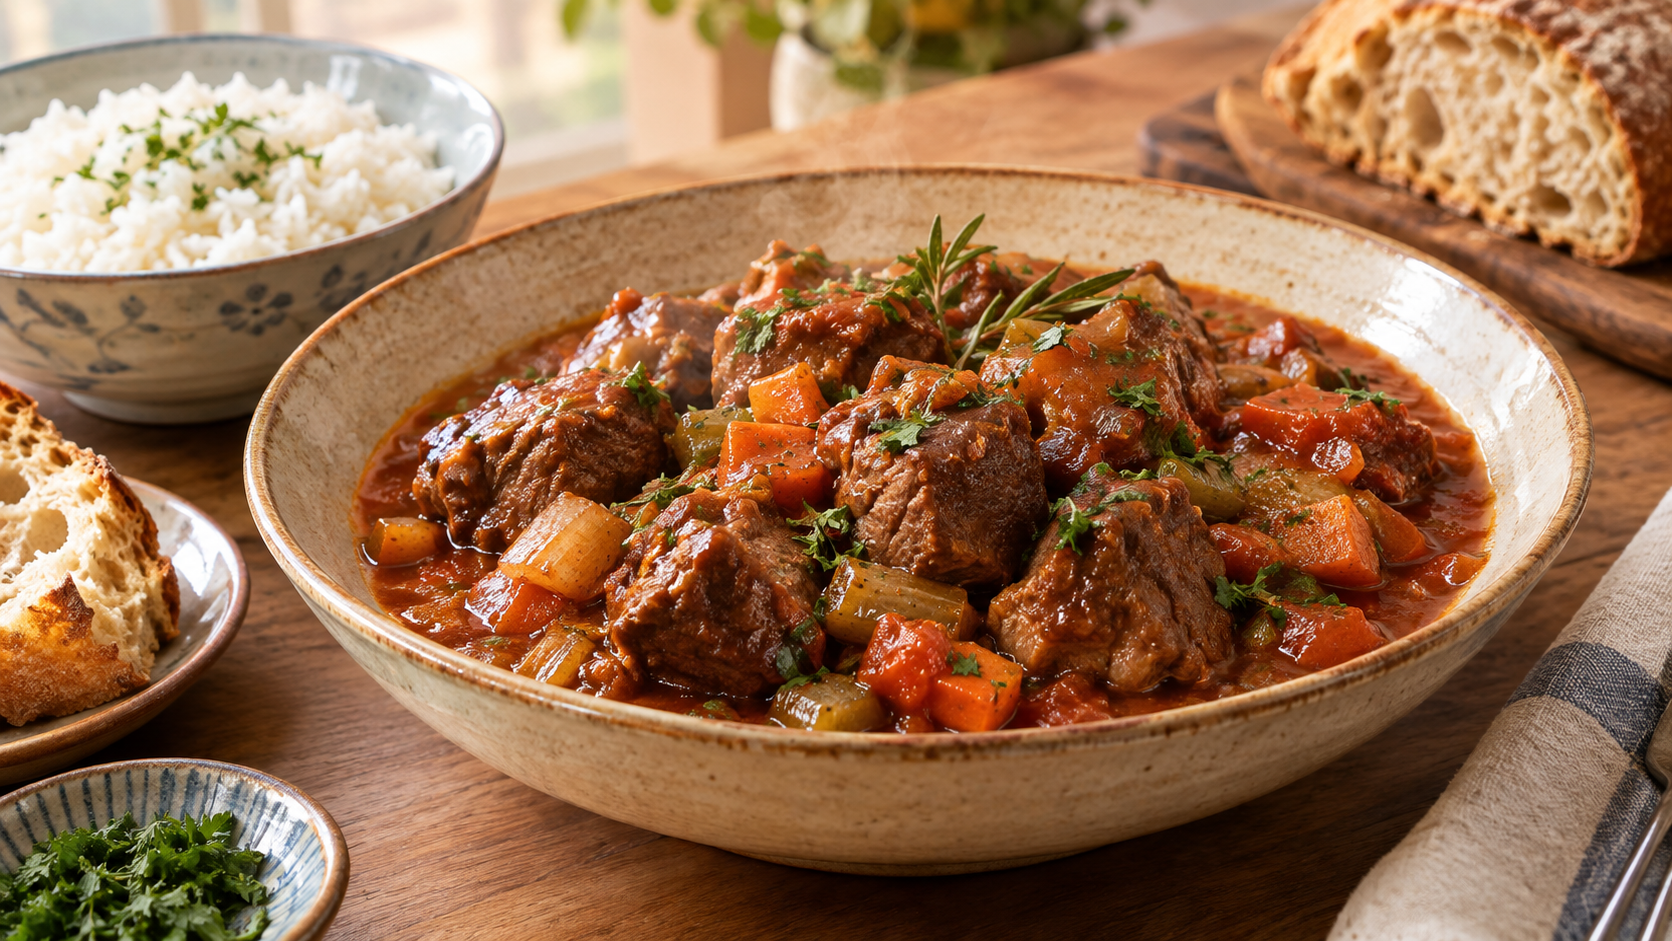
Tuscan Red Wine Tomato Braised Venison
Mediterranean cuisine · 90 minutes · Serves 2 to 3
Tuscan Red Wine and Tomato Braised Venison
Venison is lean, yet the shoulder cut contains sufficient connective tissue, making it particularly suitable for long, slow Mediterranean-style braising. Italian venison recipes commonly feature combinations of red wine, juniper berries, bay leaves, rosemary, and onions; game braises from Tuscany and Northern Italy often involve marinating in wine, searing, and slow braising to achieve a rich and rounded flavour. This time, the traditional direction of venison salmì is simplified into a tomato and red wine braise that is more accessible to Hong Kong households, reducing the amount of juniper berries and omitting sweeter jams, while retaining the main notes of red wine, herbs, and tomatoes. It pairs well with rice, pasta, or crusty bread.
Quick Answer
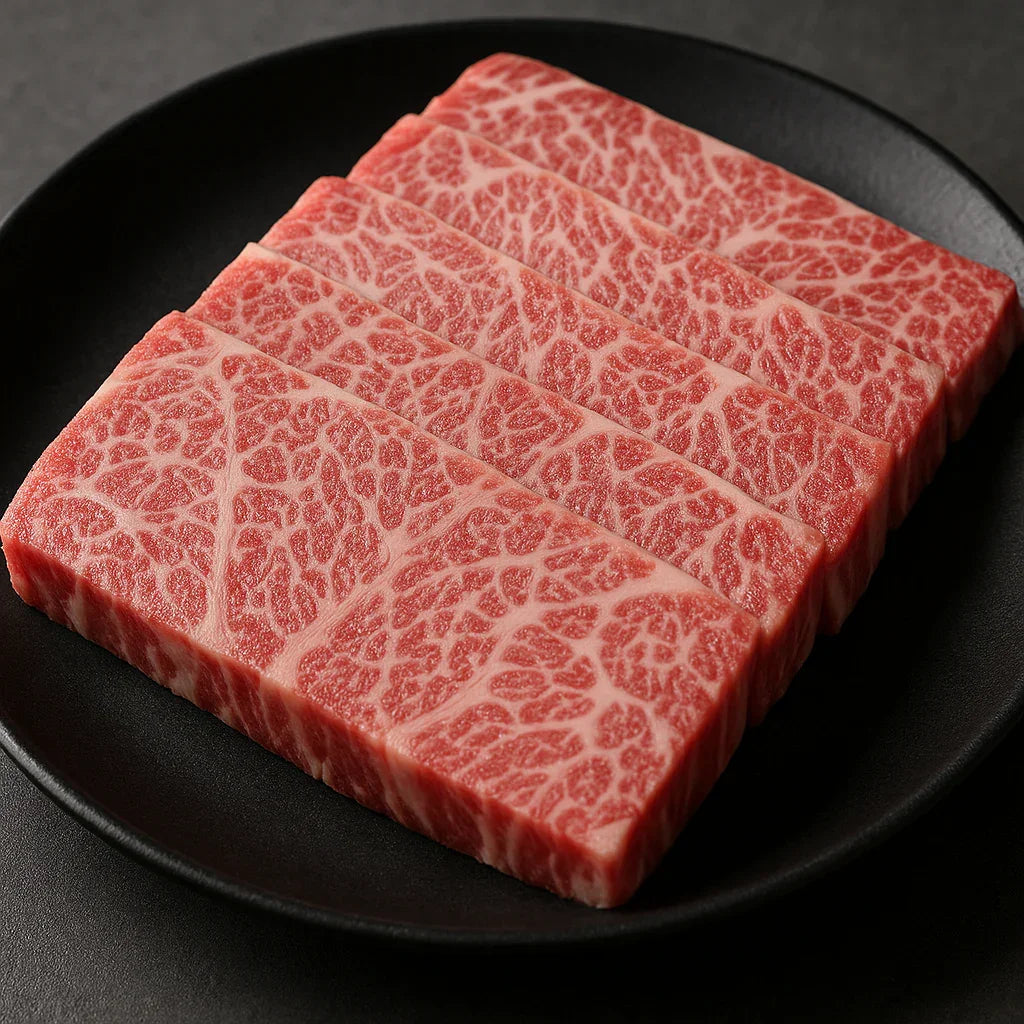
This ingredient is 2 cm venison shoulder cubes, suitable for Italian-style slow braising rather than quick pan-frying. Thaw according to packaging instructions; if no specific method is indicated, it is recommended to thaw slowly in the refrigerator and pat dry with kitchen paper. First, sear the venison in batches in olive oil until browned on the surface, then braise slowly with onions, carrots, celery, garlic, tomatoes, red wine, and rosemary, maintaining a gentle simmer for approximately 60 to 75 minutes until the meat becomes tender. As the product label states it must be cooked, use a food thermometer to confirm the centre of the venison reaches at least 71°C after cooking, and consume it fully cooked.
Ingredients
- Venison shoulder cubes 500 g
- Olive oil 2 tablespoons
- Onion 1, approx. 150 g, diced
- Carrot 1, approx. 100 g, diced
- Celery 1 stalk, approx. 60 g, diced
- Garlic 2 cloves, minced
- Tomato paste 1 tablespoon
- Canned chopped tomatoes 200 g
- Dry red wine 150 ml
- Chicken stock or unsalted meat stock 250 ml
- Fresh rosemary 1 sprig
- Bay leaf 1
- Juniper berries 3 to 4, lightly crushed
- Black pepper to taste
- Salt to taste
- Parsley to taste, chopped
Method
-
1. Safe Thawing and Drying
First check the thawing and heating instructions on the packaging, prioritising the method stated on the package; do not assume frozen meat is cooked. If the packaging does not specify a thawing method, you can place the meat in its packaging in the refrigerator to thaw. Once fully thawed, remove from packaging and thoroughly pat the surface dry with kitchen paper. Do not leave at room temperature for extended periods.
-
2. Sear Venison in Batches
Add olive oil to a heavy-bottomed pot and preheat over medium-high heat until the oil shimmers slightly. Add venison in two batches, searing each batch for about 2 to 3 minutes, turning occasionally, to form a distinct browned crust on all sides; do not overcrowd the pot, as this can cause steaming instead of searing. Remove seared meat and set aside.
-
3. Sauté Mediterranean Aromatics
Reduce heat to medium, add onions, carrots, and celery, and sauté for about 5 minutes until onions soften. Then add garlic, juniper berries, and tomato paste, and sauté for 1 minute. At this stage, the vegetables should be fragrant but not burnt, and the tomato paste should darken slightly in colour.
-
4. Deglaze with Red Wine
Pour in the red wine and simmer over medium heat for about 3 to 4 minutes, scraping up any browned bits from the bottom of the pot with a wooden spoon, until the liquid has reduced significantly and the sharp alcohol smell has dissipated. Add the chopped tomatoes and stock, then add the rosemary and bay leaf.
-
5. Braise Until Tender
Return the venison and its juices to the pot. The liquid should cover approximately half to two-thirds of the meat cubes. Once brought to a gentle simmer, reduce heat to the lowest setting, cover, and braise for about 60 to 75 minutes, stirring every 20 minutes. Maintain a light bubble; do not boil vigorously. When a fork can easily penetrate the meat cubes and the sauce has thickened, it is nearly done. If too dry, add hot stock gradually.
-
6. Finish and Confirm Fully Cooked
Remove the rosemary sprig and bay leaf, season with salt and black pepper, and simmer for another 5 minutes to reduce the sauce. Since the product label states it must be cooked, measure the centre of the thickest venison cube with a food thermometer to ensure it reaches at least 71°C; the safe minimum internal temperature for wild or farmed venison listed by FoodSafety.gov is also 71°C. To align with the product's fully cooked recommendation, you may continue braising until completely cooked through and tender.
-
7. Plating
After turning off the heat, sprinkle with a small amount of chopped parsley and let rest for about 3 minutes to allow the sauce to settle. Serve with the tomato and red wine braising sauce, accompanied by white rice, short pasta, mashed potatoes, or crusty bread.
Frequently Asked Questions
Can venison shoulder cubes be cooked directly by pan-frying?
They can be cooked, but venison shoulder is a cut better suited to braising. 2 cm cubes pan-fried for a long time directly tend to become dry on the outside and tough on the inside; searing first and then braising slowly with tomatoes, red wine, and stock is closer to traditional Italian venison preparation.
Why is venison paired with red wine, rosemary, and juniper berries?
This combination is a common aromatic direction in European game cooking. Italian venison recipes use red wine with juniper berries, bay leaves, rosemary, and other herbs for marinating or braising, utilising acidity, fruitiness, and woody aromas to balance the stronger gamey flavour of venison. cite
How should frozen venison be thawed?
Follow the product packaging instructions first. If there are no specific instructions, refrigerator thawing is easier to control for home use; cook immediately after thawing and do not leave raw meat at room temperature for extended periods.
To what temperature must venison be cooked to be safe?
The FoodSafety.gov safe temperature chart states that the safe minimum internal temperature for wild or farmed venison is 160°F, which is 71°C. It is recommended to use a food thermometer inserted into the centre of the thickest cube to confirm, rather than relying solely on surface colour.